Basic store information
To visit your store’s settings, click the Settings link on your Dashboard.
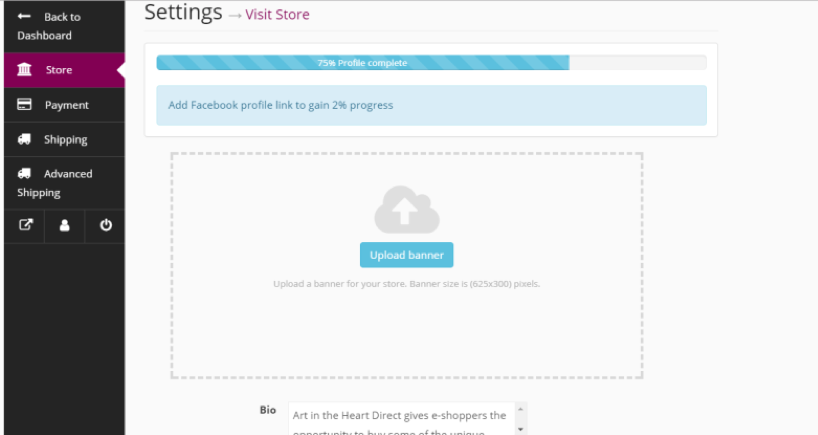
To start you’ll need to upload your store’s Banner. This will show at the top of your store front, but is also used in various places throughout the website. It is recommended that the banner is 1100 pixels wide and 513 pixels high.
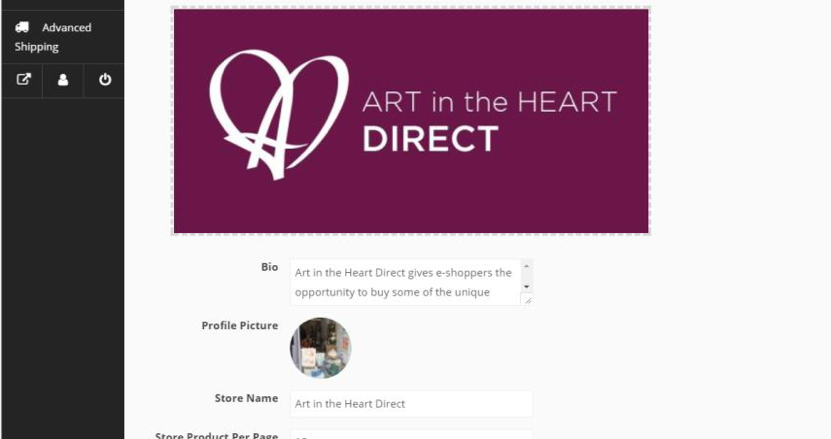
You’ll now need to fill out the Bio field in the first person. This is your artist/maker profile. You can edit your Bio at any time. make it compelling. If you need help please contact us.
Now you need to upload your Profile Image following the same process as the store Banner. It’s recommended this is 150 x 150 pixels.
Now type in your Store Name. This is how your potential customers will recognise you and your work.
Store Product Per Page controls how many products are shown at once when a customer is visiting your store front. Set this to 12.
Input your address, phone number and email. Note: this information will not be publicly visible.
The Map is not necessary and unavailable
The Store opening and closing time is not available or appropriate
If you would like to show a ‘More of this artists’ products’ section when a customer is viewing one of your products, tick the More Products box.
If you go on holiday you can tick the Vacation box, this will inform customers that you are currently away from the store and orders may take longer to process. Remember to untick this when you return. We recommend you never use this but extend your processing time for your orders instead when you set up your Shipping
Payment details
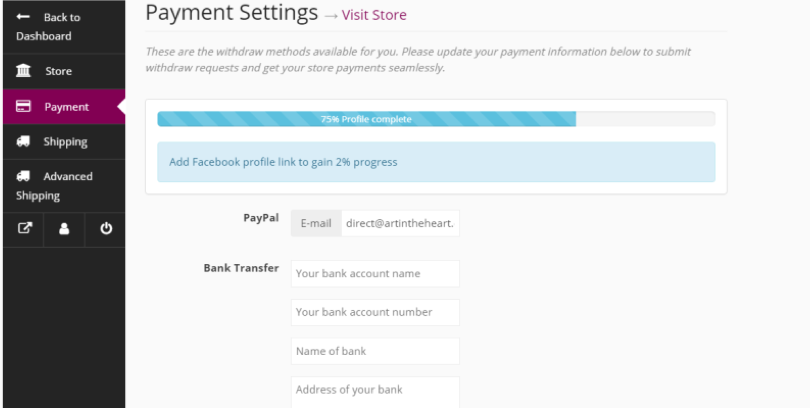
Before you’re able to withdraw your balance, you’ll need to set up your payment details. We process withdrawals through bank transfer. When requested you will need to forward your bank details to us.
On the left-hand menu, click on Payment.
Type in your PayPal Email Address. Please double check you have entered this correctly in case you want to be paid through Paypal. We prefer however to do a bank transfer.
Shipping and return details
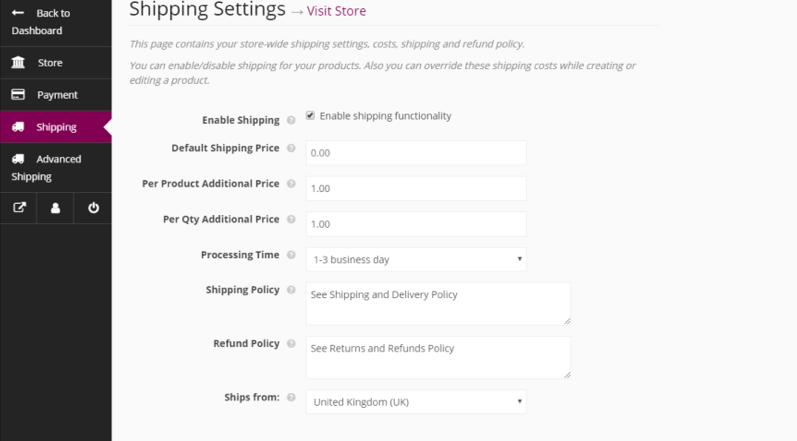
On the left-hand menu, click on Shipping.
Use the previous shipping system by clicking on Click Here
If your products require shipping you tick the box Enable Shipping Functionality.
Now you need to set your Default Shipping Price. This is the base shipping charge which will be applied to your products to all destinations
If a customer orders multiples of the same product you wouldn’t want them to pay double the shipping cost, as it would be in the same package. You can specify how much extra is applied to the shipping cost by entering it in the Per Product field.
Similar to the Per Product field Per Quantity is the additional price for postage if someone buys multiple quantities of the same product.
Now choose your Processing Time. This is the time required before you dispatch. We recommend keeping this as 1 – 3 days. If you go on holiday, it’s best to extend this instead of closing your shop with the Vacation option. However if your products are on a commission basis, extend this time. if you have a mix of ready to go and commission items, you can mention longer processing times in descriptions.
Now fill in your Shipping Policy. If you would like to explain your shipping procedure, you can enter the details here. You can also reference our shipping policy. Mention methods of shipping to the UK and overseas for example 1st or 2nd class royal mail signed for.
Now fill in your Returns Policy. You can use this field to fill out your requirements for accepting and processing a return. You can also reference our returns policy.
Tick Ships from UK.
Now fill in your Shipping Charges for the different locations you would like to ship to. To add a new location click Add Location select the location from the drop down starting with the UK, then keep adding locations or simply pick Everywhere Else and enter a standard shipping cost for overseas. Repeat this until you have covered all of the places you would like to ship to. Remember the costs you put in this section is in addition to the base shipping charge above.
You have now set up your Shipping. The great news is that if you have one-off heavy or one-off light items, you can override these settings for individual products when you add them. This will be explained in the next guide.
Congratulations! You are now set up as a Seller on Art in the Heart Marketplace. Now it’s time to Add your Products.
You must be logged in to post a comment.